
When we first moved in, for our front living room I used Ikea Lack shelves and cut them down for the alcove. It’s a cheap and easy way to get a fitted look but you couldn’t expect to store too much up there! The benefit of the Lack shelves is a clean finish face on but cutting Ikea units can make a mess and ruin the item.
The upgrade to fitted alcove shelves
So the living room Ikea “hack” had the benefit of being completed in an afternoon. I had bigger plans for the dining room which I gloss over here. I was always going to attempt building fitted alcove shelves as it would be structurally more sound. Of course my obsession with LEDs came to play when I thought of a way to incorporate them into the design!
The Frame
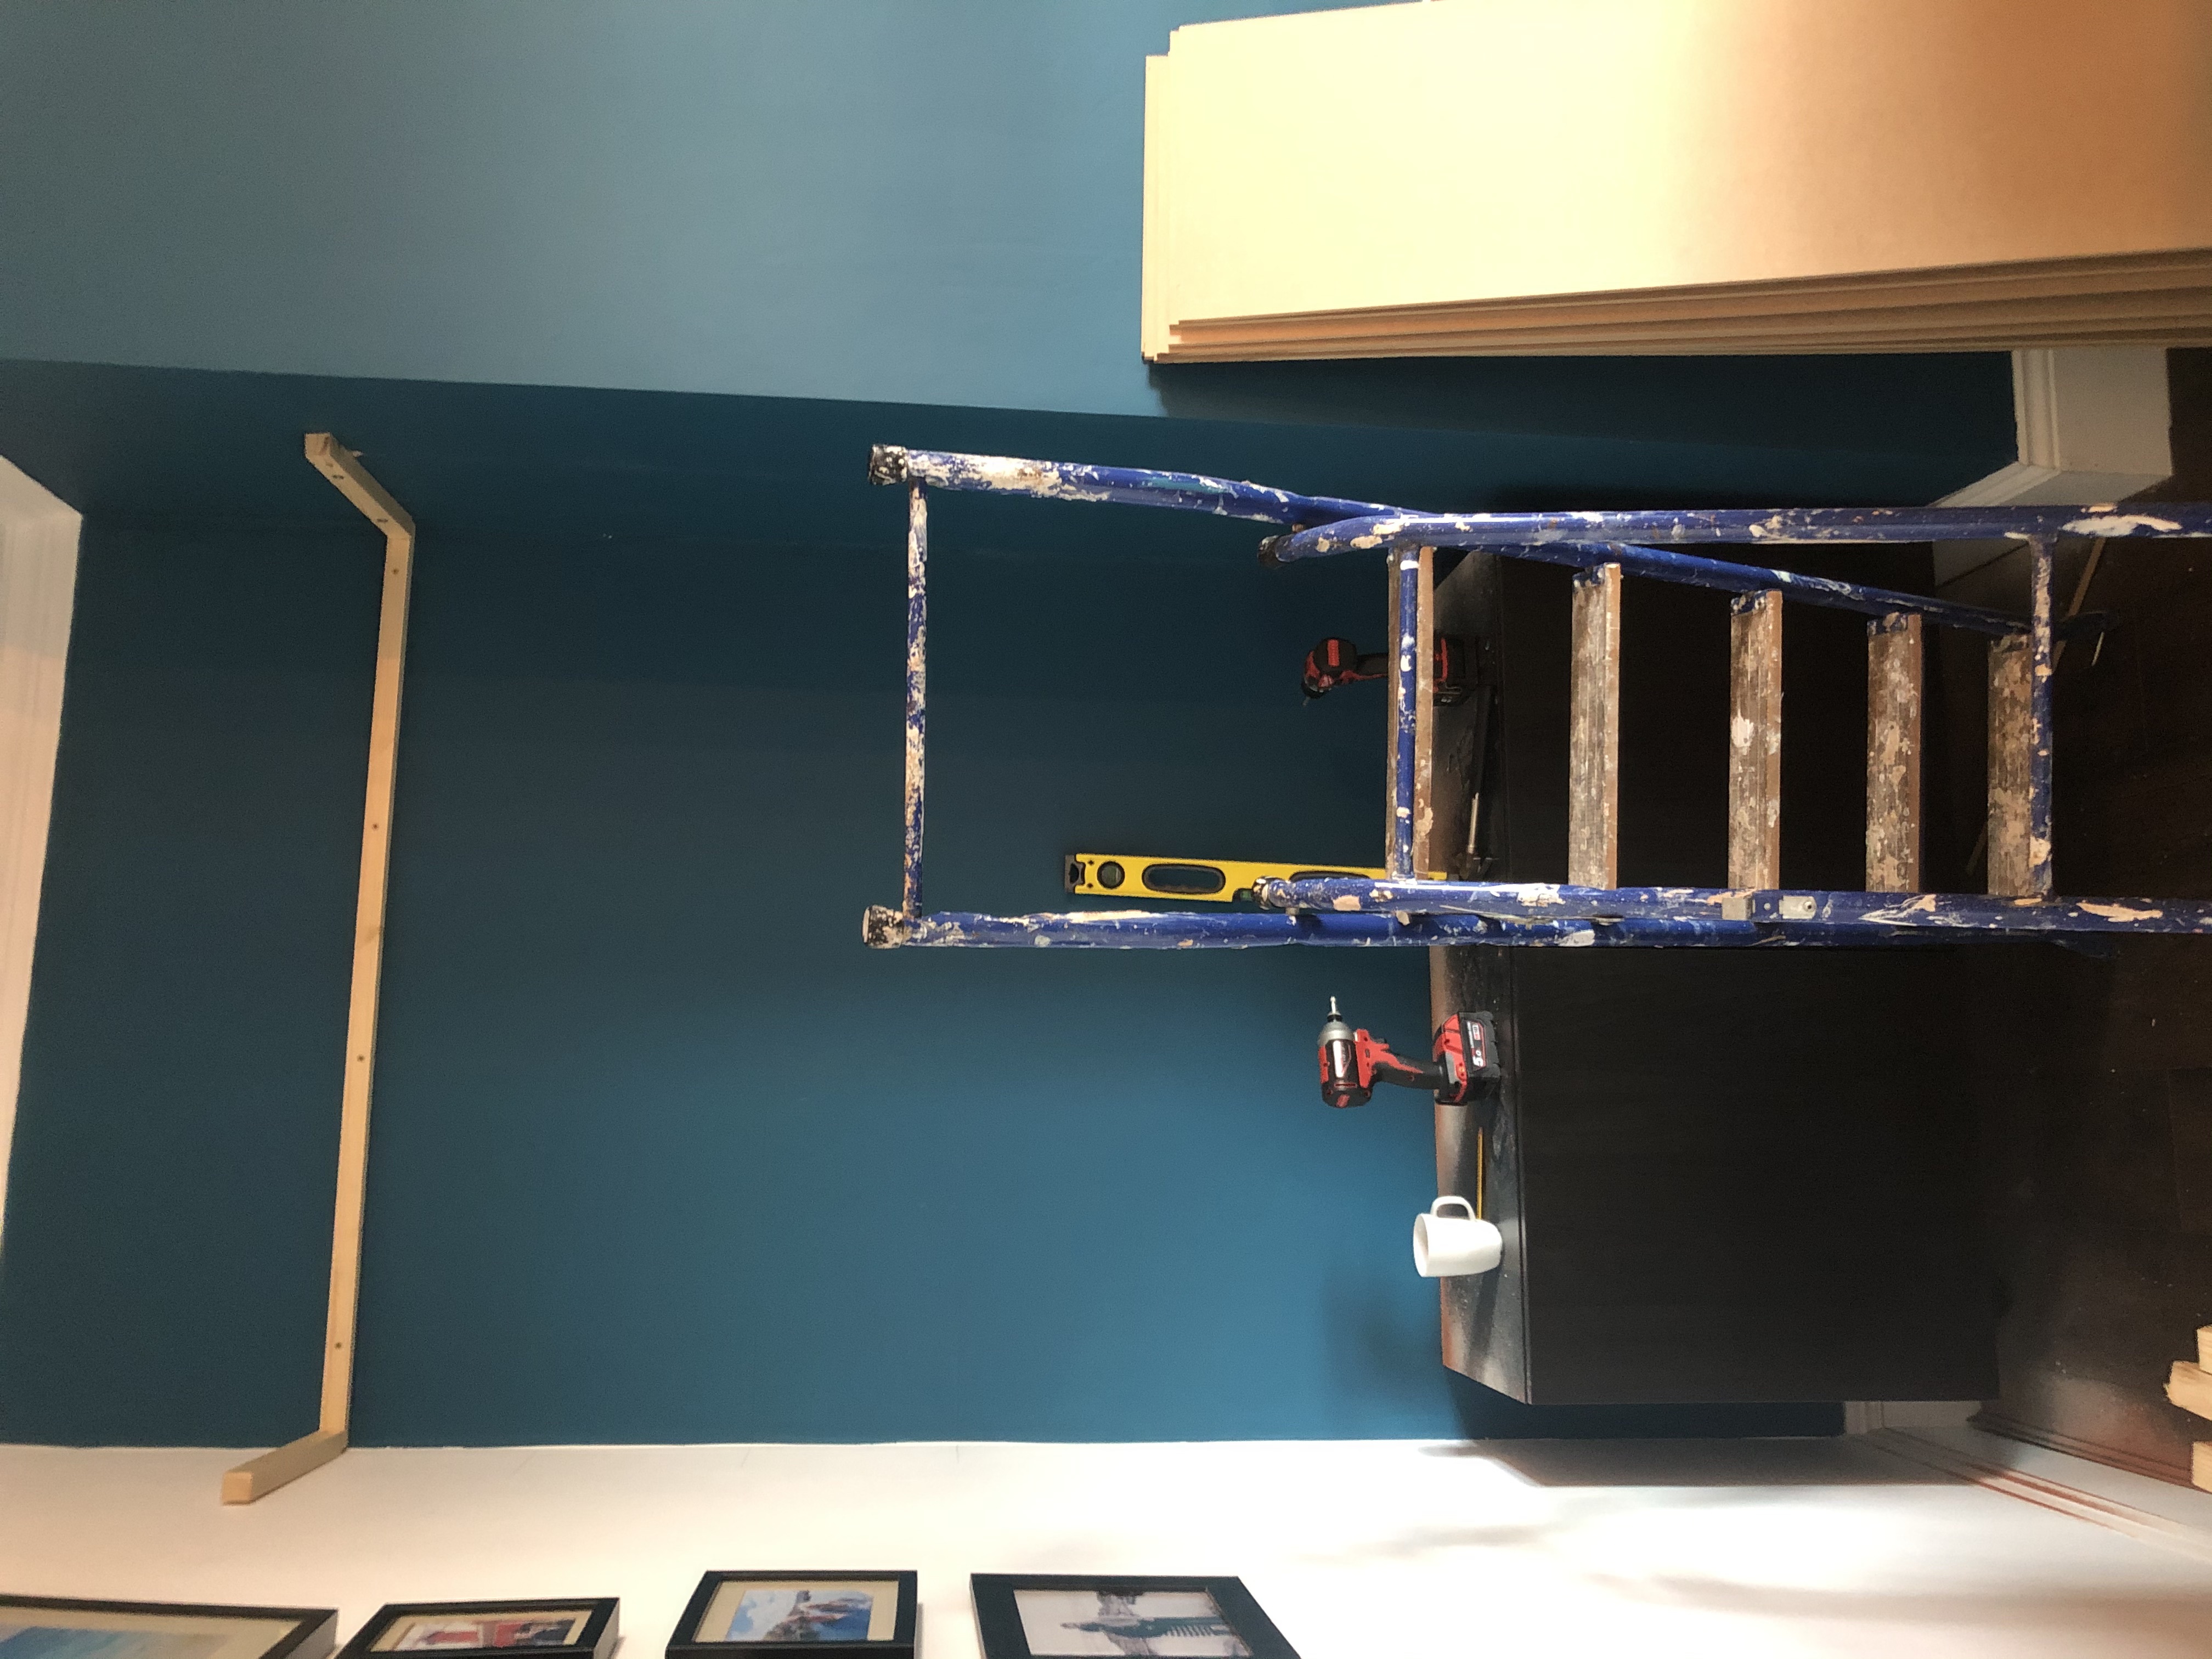
It’s pretty self explanatory here. I measured along the depth I wanted the shelves to protrude and then the width of the alcove. It’s important to do it for each shelf and not to rely on one reading. Even the width of each back of shelf and the front width of the fitted alcove shelves The walls are never straight and I was finding differences of a few cm. I was using 2 x 1 timber battens which would be the internal frame for the shelves. Already this would be more durable than the Ikea equivalent!

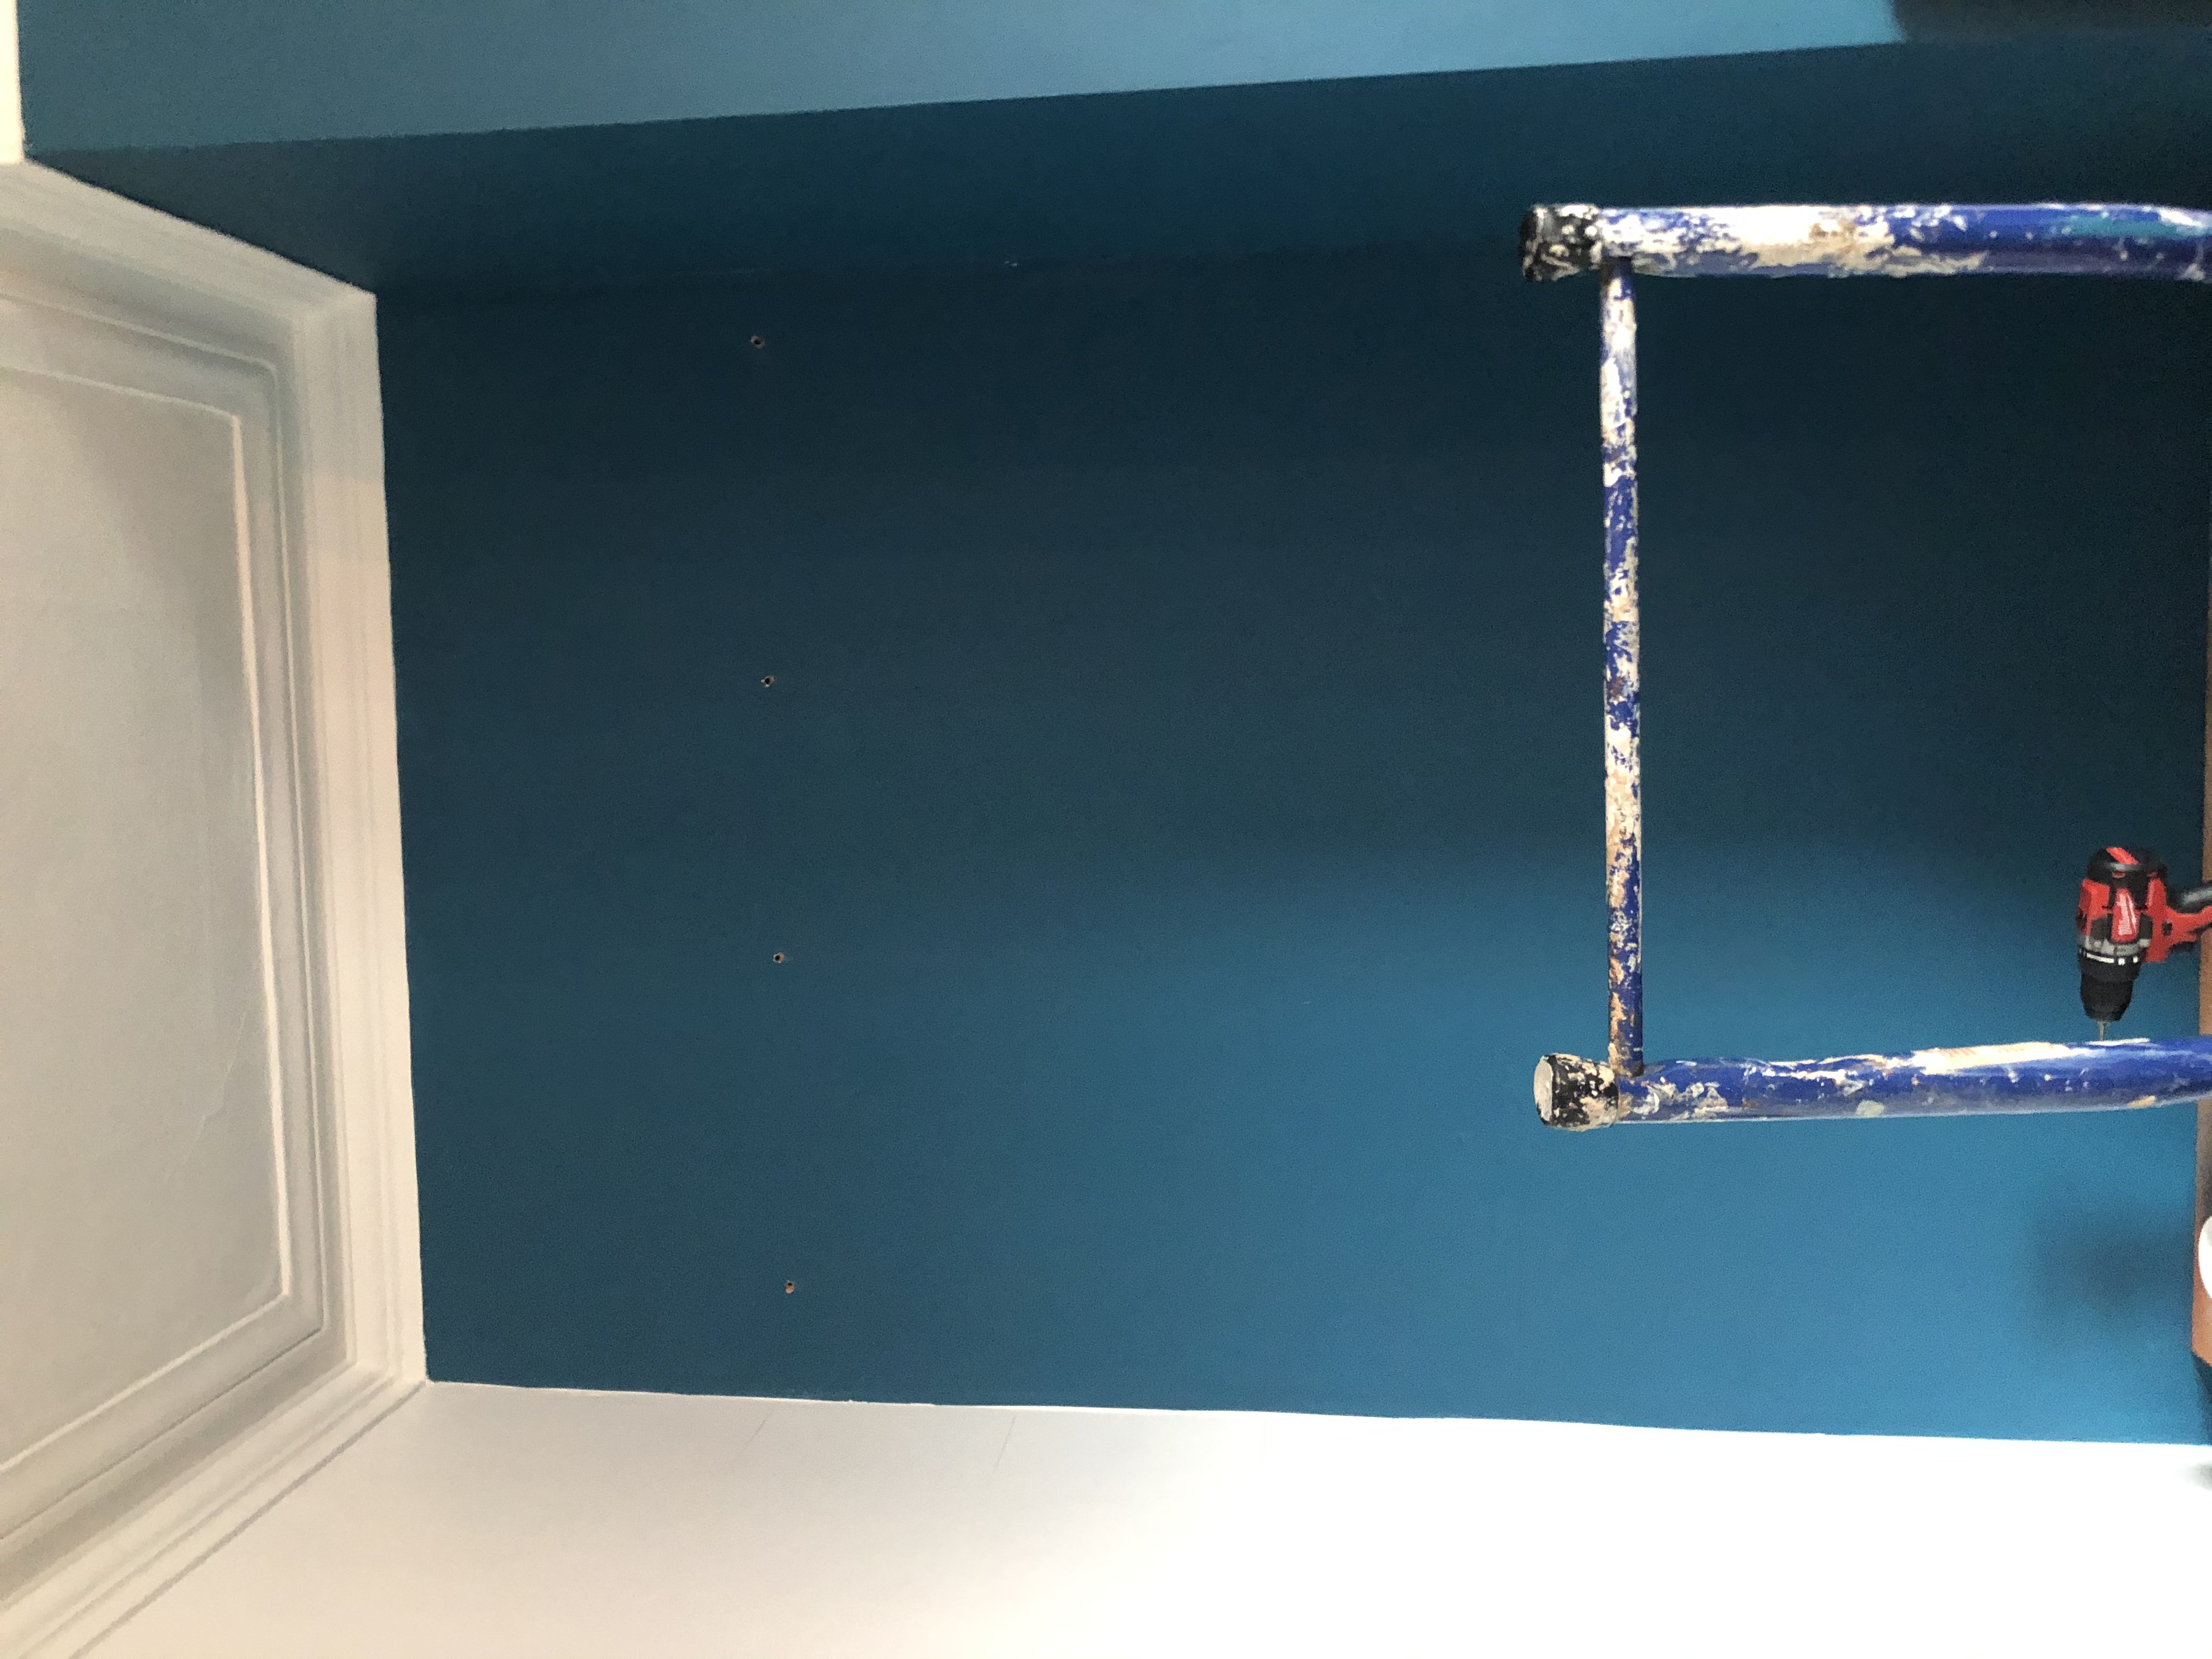
The alcove we’re putting the fitted alcove shelves into. 

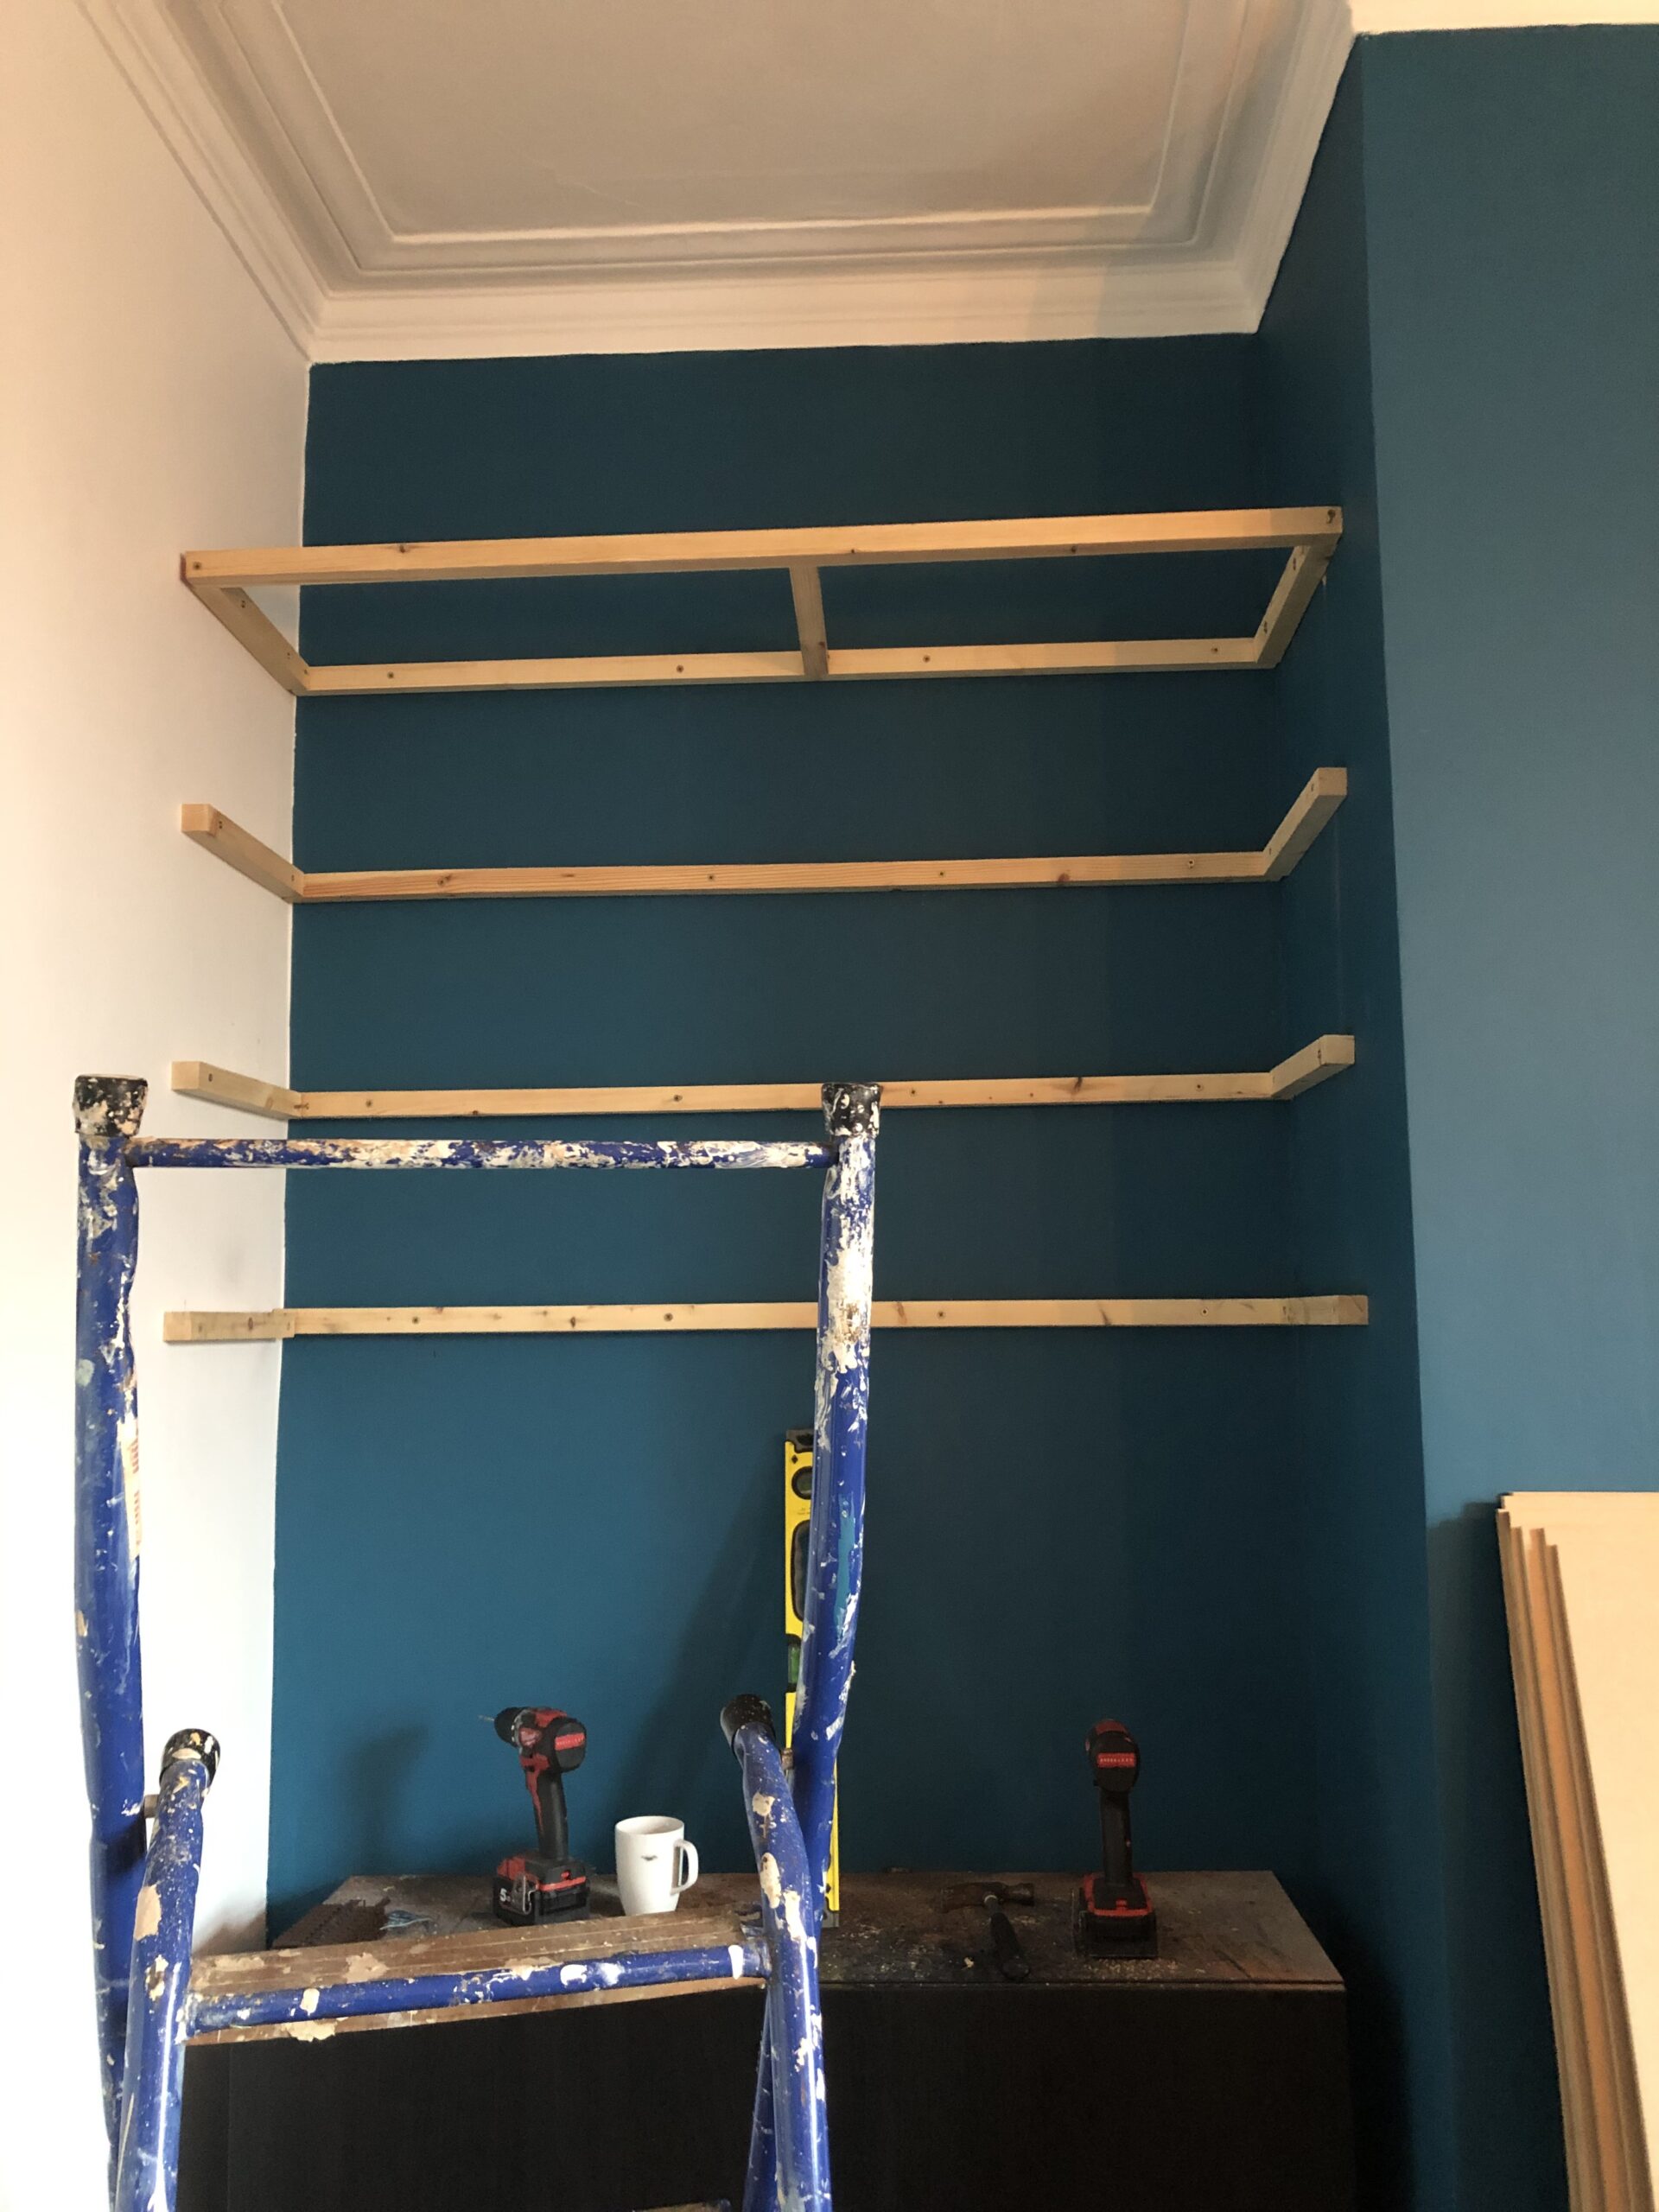
Putting the battens in one by one 
The final frames fixed to the alcove
Improvements
If I had the opportunity to do this again, would I do it in the same way? No. As I stated in a previous post I kind of did this on the fly. Whilst the shelves are pretty sturdy, this basic frame is only supported along the 3 walls. All the other battens are screwed into at least one of these 3. So whilst the pressure is alleviated by a wall, having something heavy in the middle could potentially make the shelf bow down. This isn’t a concern for me in reality as we wanted to keep the contents minimal.
However, when going through this effort, you may as well build it to the best strength possible! It wouldn’t be much more effort to do a half lap joint which would then help bring the pressure down to the wall fixed battens. I just screwed the ends into each other!
Glue, I didn’t use any and it would help add to the overall rigidity!

The panels
I used 9mm MDF panels for the bottom and top. The reason I went for this thickness was to hide the inset routed cutouts for the LED lighting. I could have went for a thinner panel for the top ones as it was only the bottom ones holding the LEDs. However, I ended up doing 9mm all over because buying them in sheets of the same thickness made sense financially.
I got these pre cut at the local timber merchant I bought it from to save me a job which would be quite the hassle without a table saw! These were nailed into the timber frame.